DISCLAIMER: I do not take any responsibility if anything happens/goes wrong.
In this article, I will explain how to make beer. It’s an easy process which is achieved over a couple of steps.
I have separated into the following sections:
- Overview of Beer Brewing
- Equipment Requirement
- The Brewing process
- Making your first beer
- Bottling your beers
- Enjoying your 1st beer
Overview of Beer Brewing
I’m sure, you have thought of the possibility of brewing your own beer. For me, it started when I started to appreciate my dark ales / Belgium beers – which does not come cheap. I then ventured into home brewing. The fermentation required an ideal temperature of ~20 degrees. This might be a challenge in tropical countries which is still possible.
Grains + Hops + Yeast + Water + Time = Beer
The required setup for a small scale homebrewer is quite simple. You could have a fancy setup eventually but i recommend to start it simple. Like with any hobby, you never know it might be short lived. You don’t wanna waste a ton of $$ if you eventually lose interest – which I hope you won’t.
Equipment Requirement
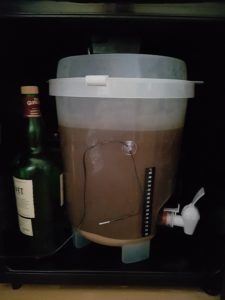
The equipment which I used for my brewing setup are:
- Wine Chiller
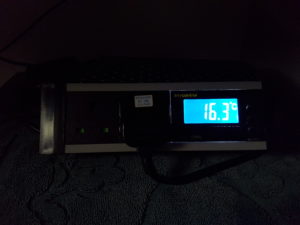
- Temperature controller
- Brew Starter kit (comes with fermenter, hydrometer, etc)

Instead of a wine chiller, you could use a fridge or a freezer. Due to space constraint, i needed something small (less than 1m width, length, height). As such, i looked for a mini fridge and a wine chiller. The wine chiller was the only thing which could fit my fermenter. You could easily get a second hand from eBay, carrousel or any online sources. You will need to purchase a Temperature controller in order to moderate the temperature between 18 – 22 degrees.

The Brewing process
There are 3 different brewing options (Extract, BIAB, All Grain). In this article, i will outline about extract brewing which is the simplest method. After several batches, you might wish to scale up to BIAB or All Grain.
The different methods will produce different quality. None of them are bad. However, if you have a beer which is a tad bit too bitter or an off flavour for your liking, try passing it around to some friends. You might be surprised that some may just love it. Otherwise, you could use it when making a stew.
Making your first beer
When making your first batch, make it simple and don’t over-complicate it. When you visit your brew shop, you will have a selection of beer styles to choose from. Choose the beer type which you like. Before you commence, sanitize your fermentation bucket. All you need to do is to empty the extract can into your fermenter and add warm water to mix up the thick liquid. Its a thick liquid almost the same consistency as molasses. Once its well mixed, top off the rest with cold water and ensure your temperature reading is about 20-22 degrees. This is when you whip out your hydrometer to measure the gravity reading.
If the temperature is a fair bit higher, place it in your chiller till it reaches the desired temperature. This is when you add your yeast. If you add your yeast when your beer is at 28..30 degrees, you will most likely kill your yeast.
The can will indicate the estimated ABV upon completion. If you would like to bump up the ABV a little, you could add some sugar (Table sugar, brown sugar, rock sugar, honey). The yeast will convert the sugar to alcohol. Try not to add a whole bag of sugar to your first brew. When adding brown sugar, add it with caution as it will significantly darken your beer color.
Bottling your beers
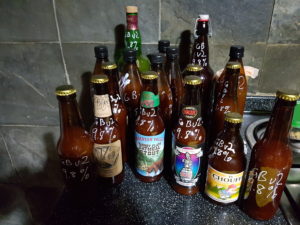
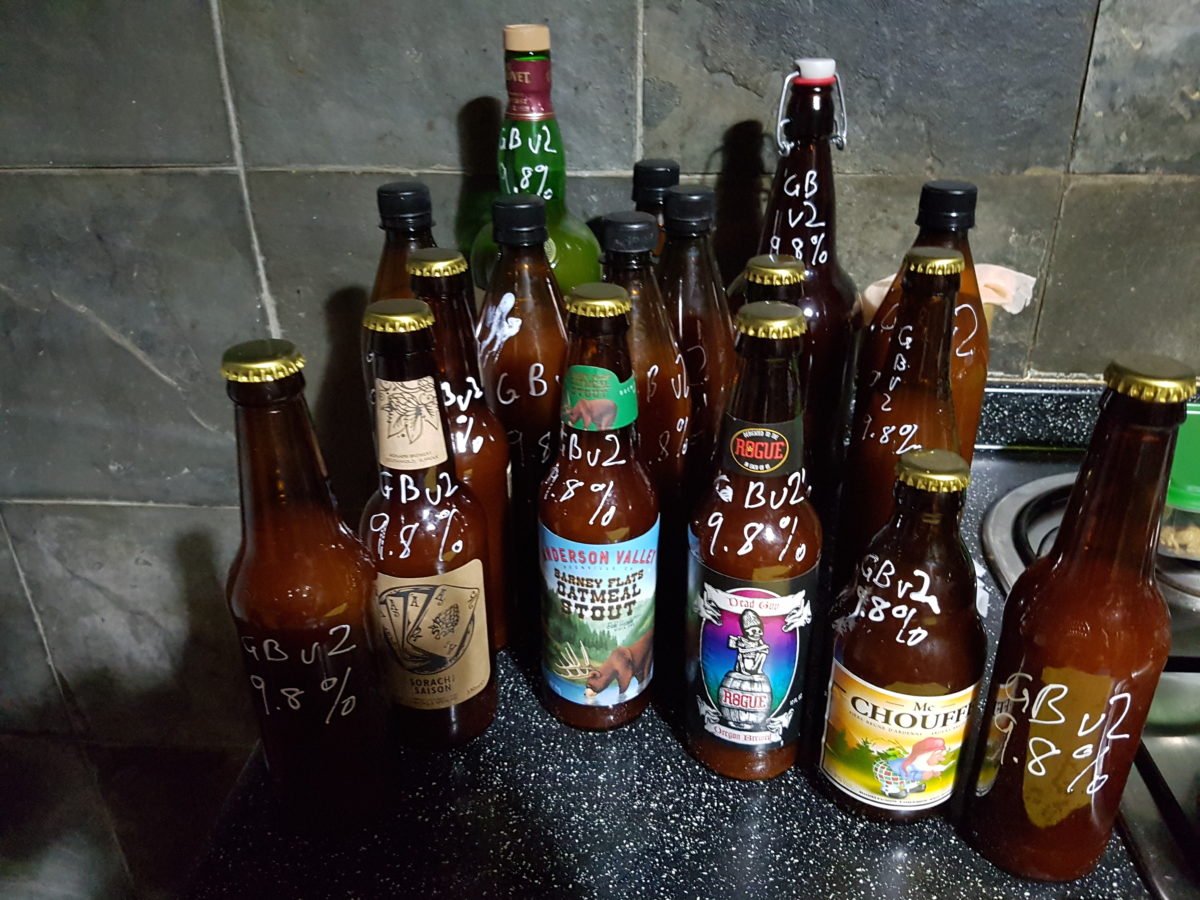
If you purchased the Brewing Kit set, you should be provided with either 12 or 30 PET bottles which depend on the batch size. For a start, use these bottles – which everyone does. Eventually, you might want to use glass bottles which look better.
I generally sanitize my bottles the night before to minimise the effort required during bottling. Attach your siphoning cane to the tap and pour it leaving about an inch from the top. Now is when you add in the carbonation drops as it will eat up the remaining yeast to transform into carbonation. After bottling, you will need to keep this for about 2 weeks. Ales, Stout, and Porter will get better over age. If you could leave it for about a month it will be ideal. I have actually tested on my first batch which was Ginger Beer. I drank one bottle after ageing for 2-3 weeks and another at 6 weeks. The initial bottle didnt taste so good but the 2nd bottle onwards tasted amazing. Generally, i tend to leave my beers in the bottle for about a month
The ideal temperature to store your beers is the same as fermentation. What i did was to get a cooler box and fill up about 1/4 or 1/3 with water and throw in some ice packs. I only change them once a day. Carbonation is generally expedited in this range or even lower. Again, i was not convinced and tested out with half a batch of my previous beer which i left at room temperature. The head maintained for quite a while.
Enjoying your 1st beer
This is the moment which we have all been waiting for. If you are making a larger or a blonde, have it nicely chilled. If you are having a variety of Ale, Stout, Porter you might be able to drink it right off your Cooler Box. When pouring your beer, ensure to leave out the last bit as it’s all yeast
I hope this article has been of help for you. 🙂
